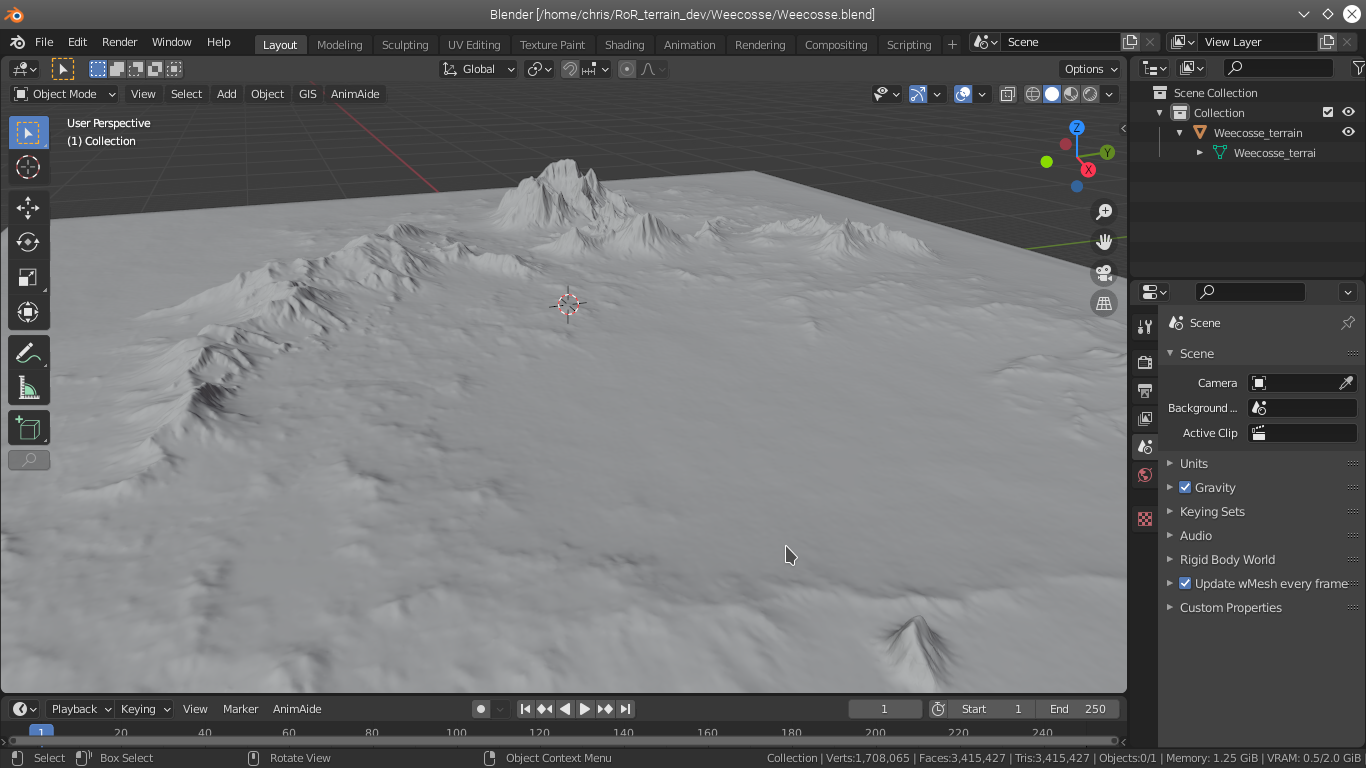
Blender 2.9 has awesome sculpting tools. I thought I would show a quick way to get a terrain sculpted in Blender in to RoR. I'm assuming you know Blender so this isn't hugely in depth.
This terrain was worked on in L3DT Pro and then refined in Blender.
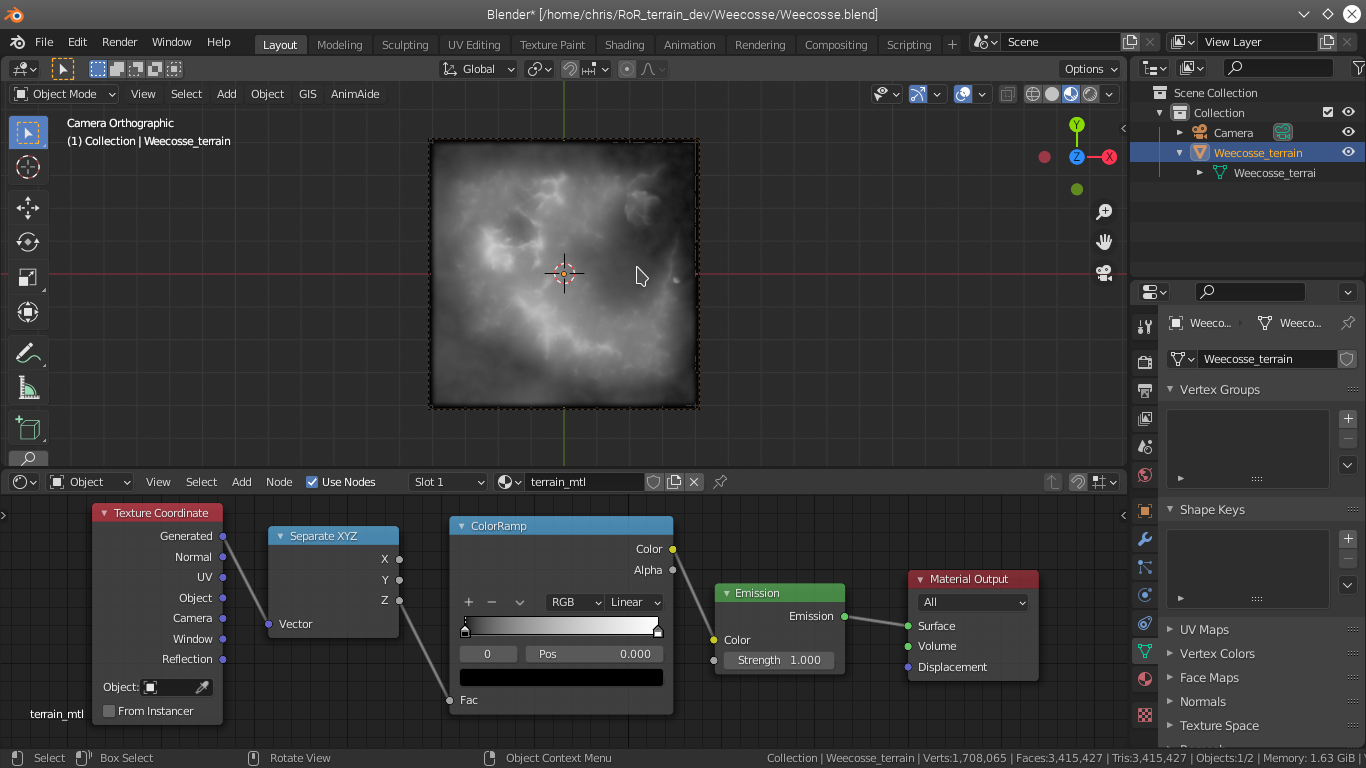
The first stage is to assign a material to the mesh, then give it the following node set up. It is an emissive texture with the brightness controlled by the height.
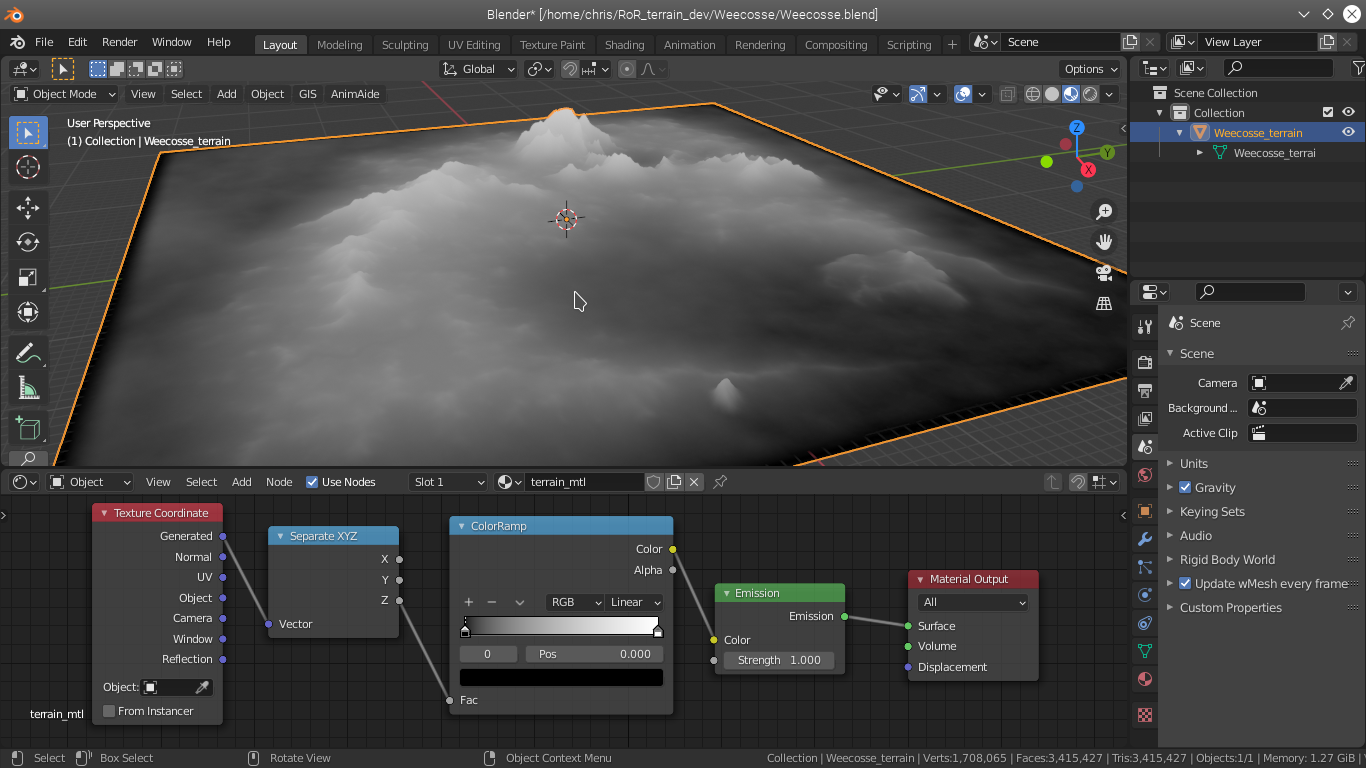
Tallest areas should be white, lowest areas black.
Next we add a camera to the scene. The camera needs to be orthographic. You need to set the scale to be equal to the dimension of your terrain. So in my example I am making an 8192m terrain.
Make sure that the clipping is set to a number much larger than your scale. Make sure camera rotations are all zero and position it above the terrain.
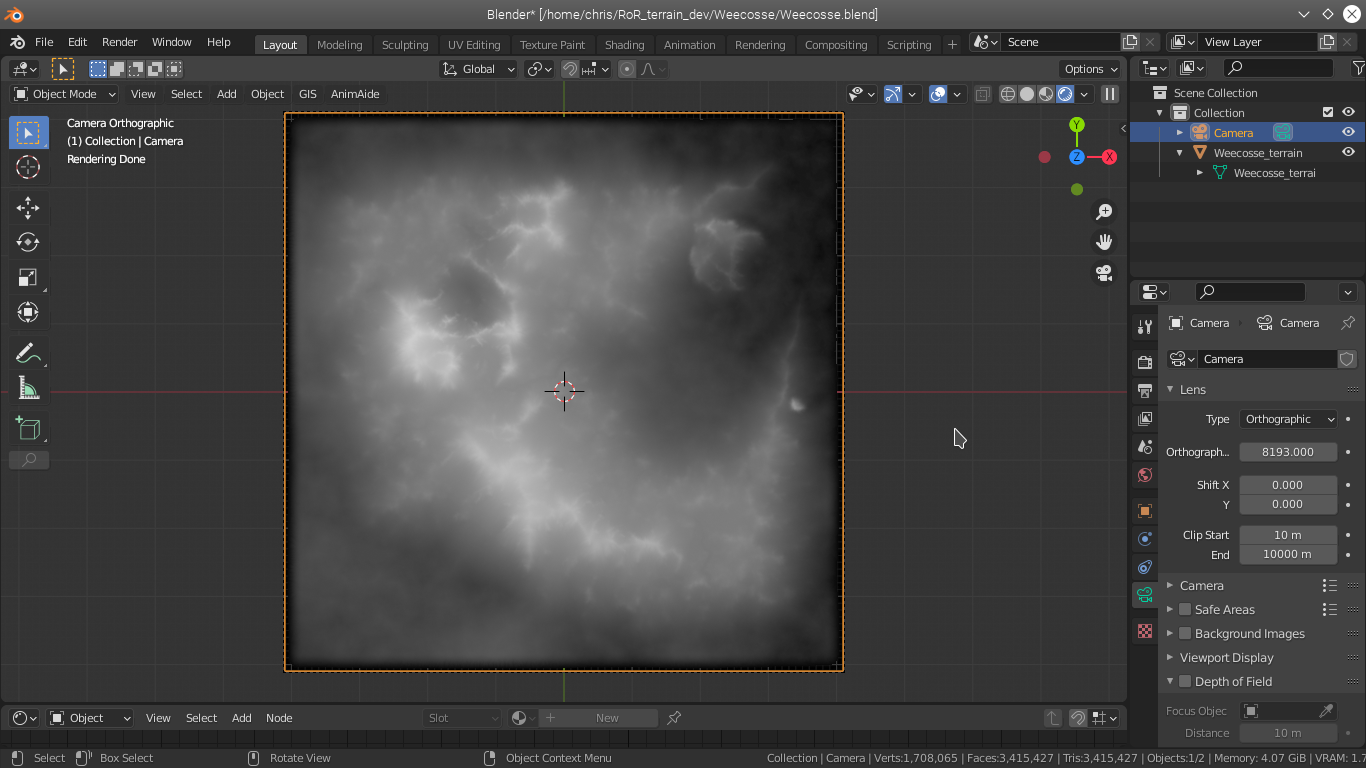
This looks ok, but if you were to export it now the heights would be wrong due to Blender's colour management.
You need to go in to scene colour and change the settings as follows.
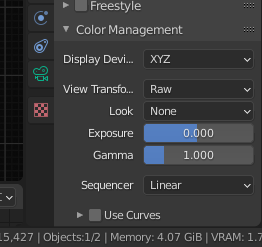
Then the heightmap will be linear with no corrections.
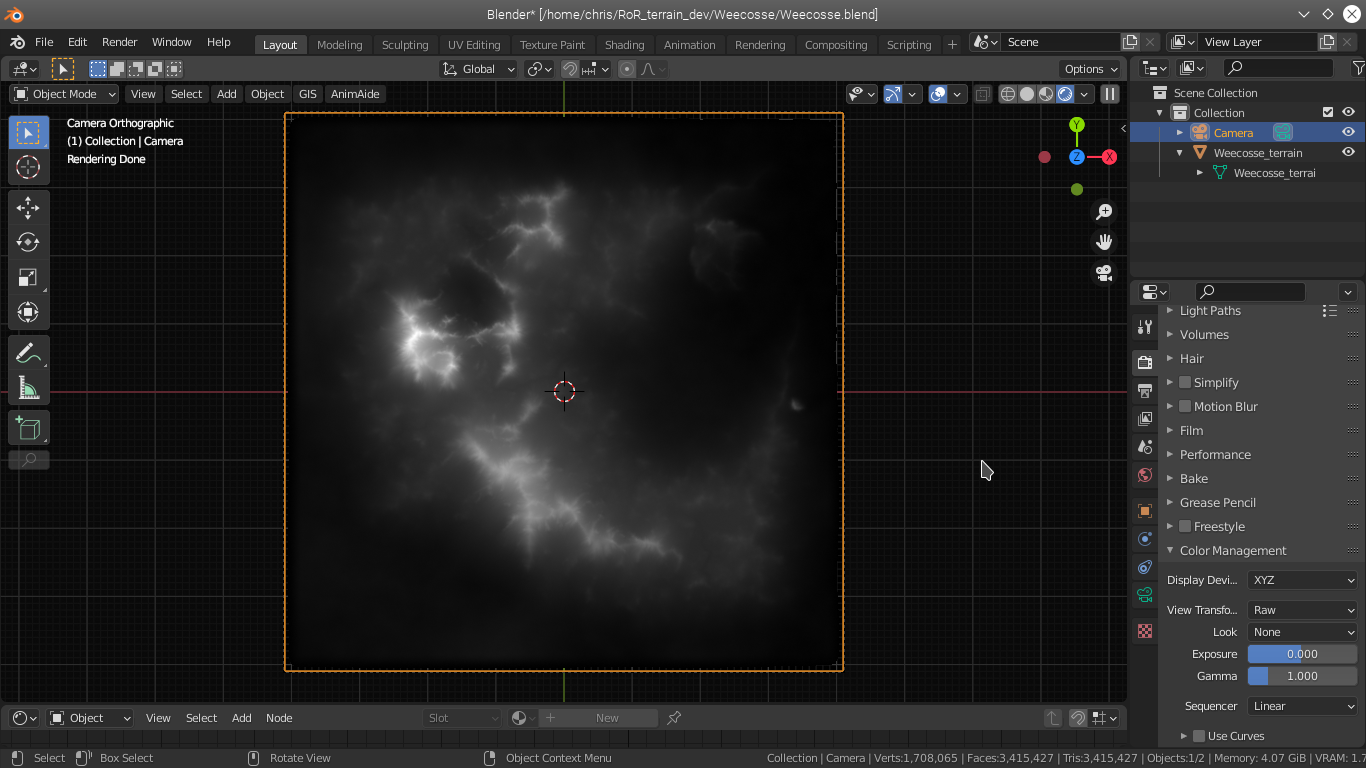
Change your render settings so that the output file has the dimensions you want for your heightmap ( n^2 +1) in my case 8193x8193.
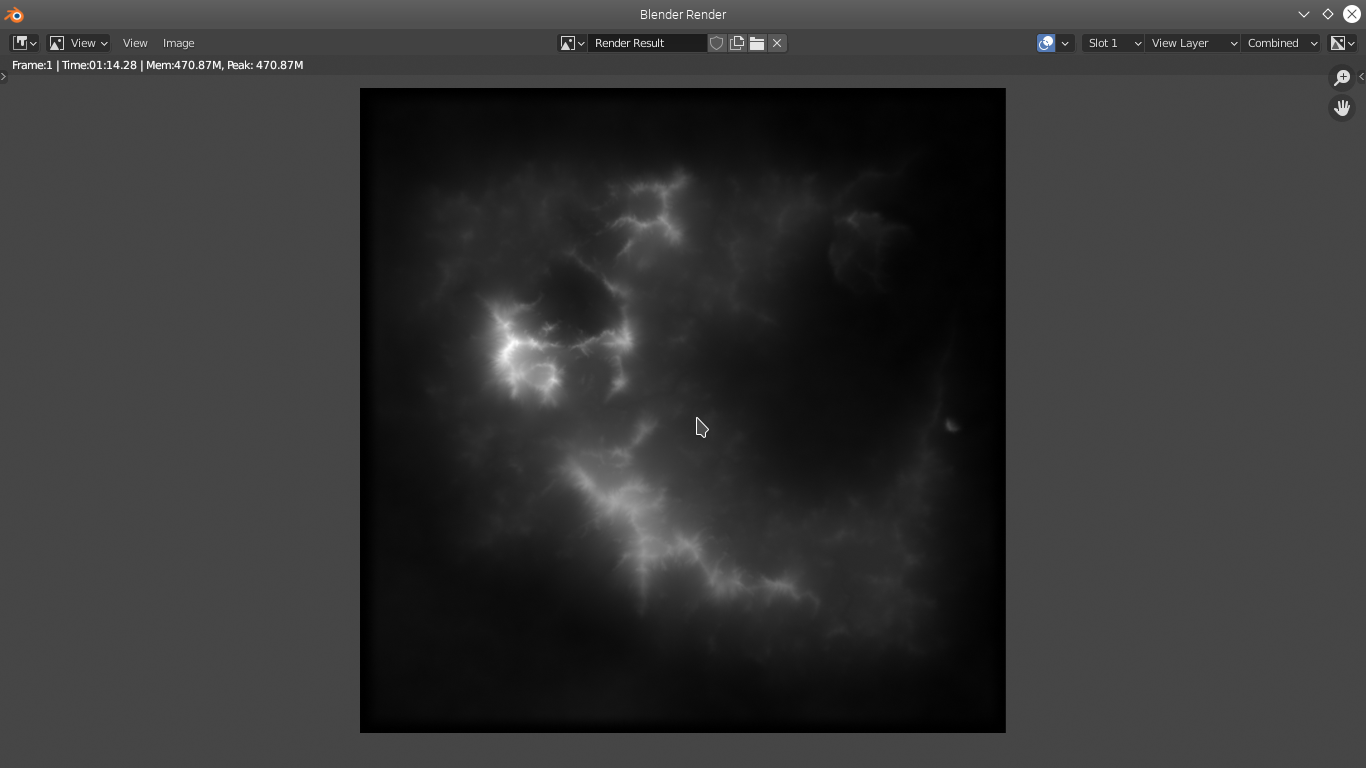
Hit F12 to render.
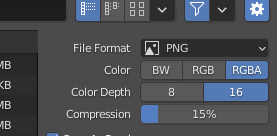
Now just export to the terrain folder as .png making sure to set to 16bit RGBA
Now your heightmap is useable in the game. (this has some textures from L3DT slapped on just for texting)
For the settings for the terrn2 etc you use the dimensions (X, Y and Z) from your sculpt.
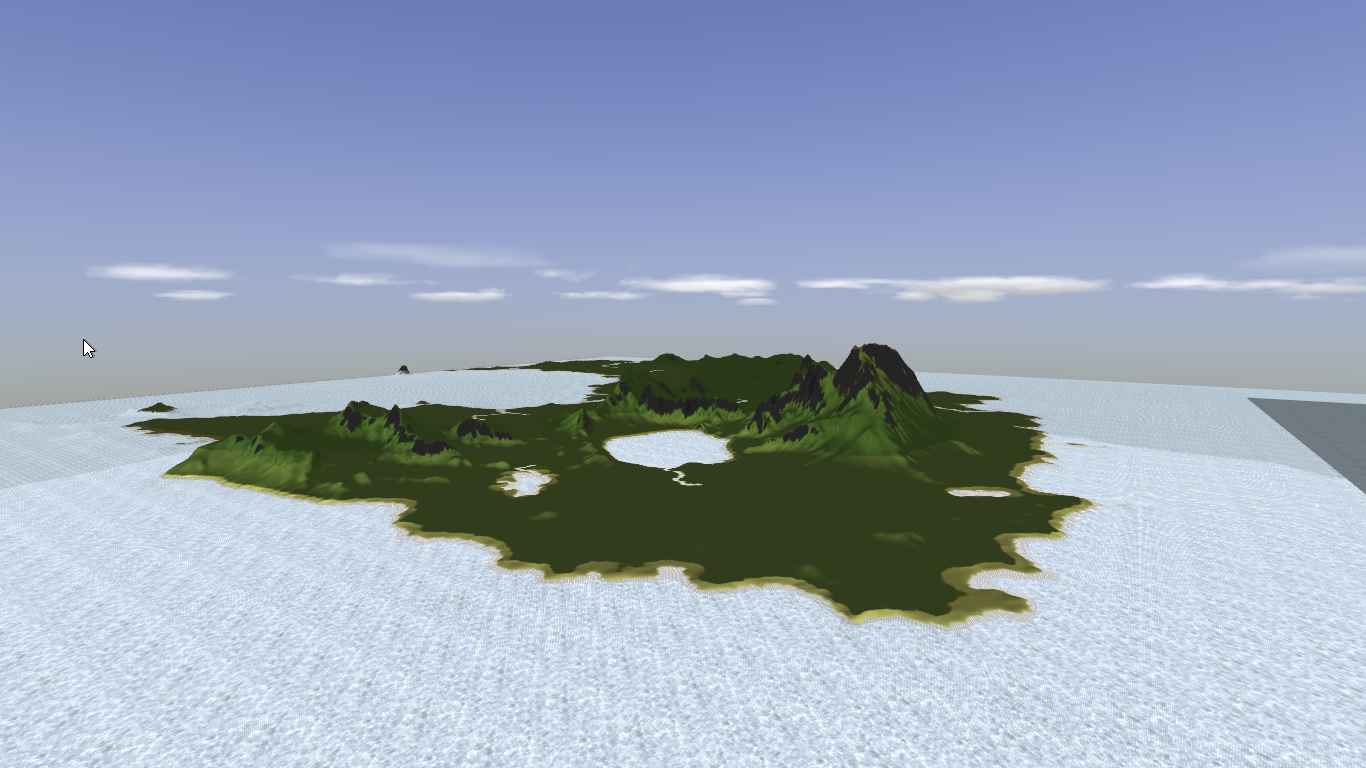
This terrain was worked on in L3DT Pro and then refined in Blender.
The first stage is to assign a material to the mesh, then give it the following node set up. It is an emissive texture with the brightness controlled by the height.
Tallest areas should be white, lowest areas black.
Next we add a camera to the scene. The camera needs to be orthographic. You need to set the scale to be equal to the dimension of your terrain. So in my example I am making an 8192m terrain.
Make sure that the clipping is set to a number much larger than your scale. Make sure camera rotations are all zero and position it above the terrain.
This looks ok, but if you were to export it now the heights would be wrong due to Blender's colour management.
You need to go in to scene colour and change the settings as follows.
Then the heightmap will be linear with no corrections.
Change your render settings so that the output file has the dimensions you want for your heightmap ( n^2 +1) in my case 8193x8193.
Hit F12 to render.
Now just export to the terrain folder as .png making sure to set to 16bit RGBA
Now your heightmap is useable in the game. (this has some textures from L3DT slapped on just for texting)
For the settings for the terrn2 etc you use the dimensions (X, Y and Z) from your sculpt.
