Chapter 5: Text editing
Open the file with any text editor. The first line will be the name that you see in the vehicle selector. Rename it if you want. The next few lines will be credits. The first word will always be "author", the second will be what that person did (use underscores instead of spaces), the third is their user ID (if you don't know yours just use -1), and the last is their username. You can add some or delete some, I have just one credit to me who did everything:

You can delete the next section, forwardcommands, as it only really applies to trailers
The engine section is mostly preference, but I recommend you reduce the torque (3rd value) to 200-500 as the default 6000 is for big trucks
You can read the docs section [here](https://docs.rigsofrods.org/vehicle-creation/fileformat-truck/#engine)
Also add an engoption section under it to tune the inertia, shifting, and other values
For this, you should reduce the inertia (1st value) to 0.01 to 0.05, and the type (2nd) value to c
If you want, you can add a turbo with [engturbo](https://docs.rigsofrods.org/vehicle-creation/fileformat-truck/#engturbo)
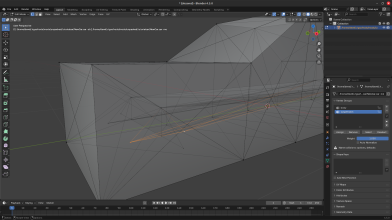
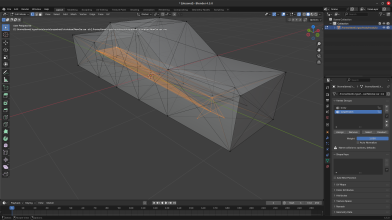
You don't need to mess with nodes or beams, as those were handled by Blender and the exporter
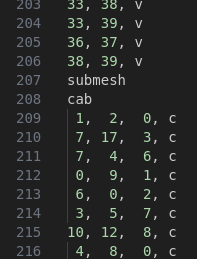
However, you should add "submesh" under the beams section, scroll all the way to the bottom, and you'll find the sneaky cab section. Cut and paste it to be under submesh:
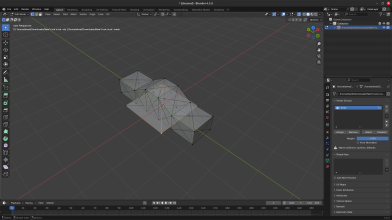
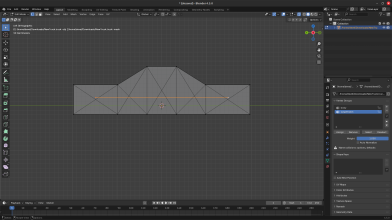
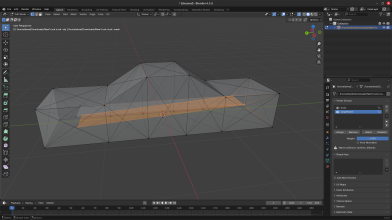
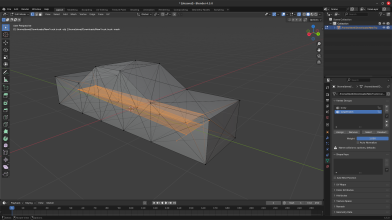
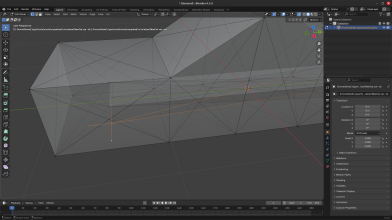
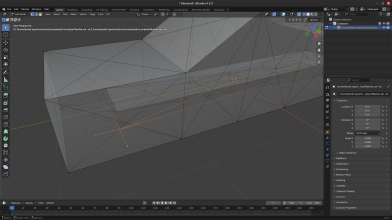
Here, you'll need Blender again. While in edit mode (allows you to select individual nodes), click on the little square on the top bar:
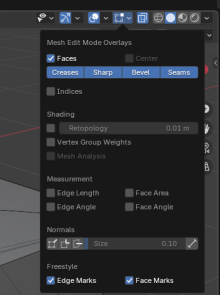
And check indices:
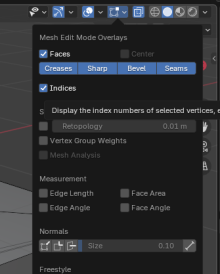
The camera section is pretty simple. All you need are three values, center node, back, and left.
For me the section looks like this:

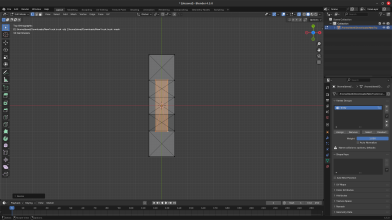
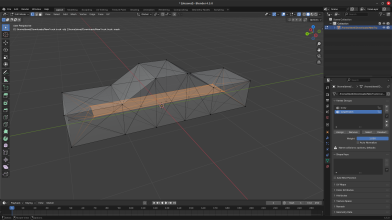
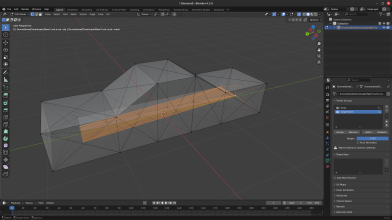
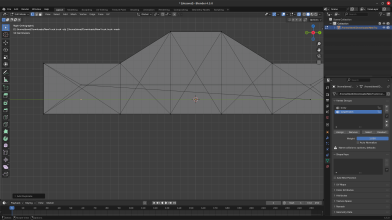
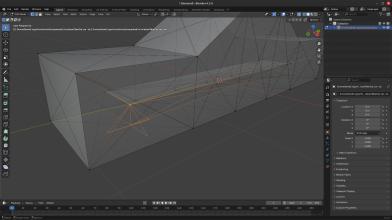
For you, it should be the same, but just to make sure, go back into Blender, and select these nodes:
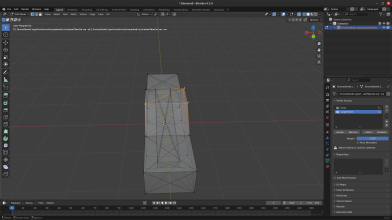
You can see that the nodes are on the roof, with 1 being in front, 3 being behind it, and 7 being to the left of 3. If your nodes are different than mine, fill them in with your correct ones.
The cinecam section can be ignored for now (but not deleted) as extra cameras are not needed. However, if you want, you can try adding one using the docs
here
The wheels section looks pretty complicated, but it gets pretty easy when you understand
the docs section for it
The values you need to change are the radius, nodes, rigidity node, wheel braking, wheel drive, and reference arm node
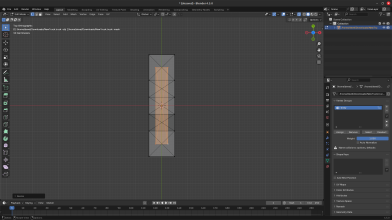
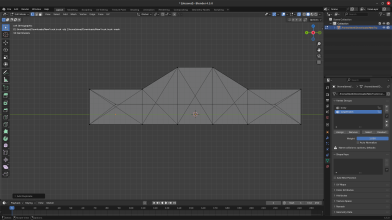
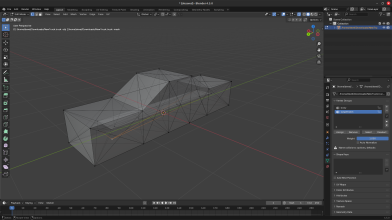
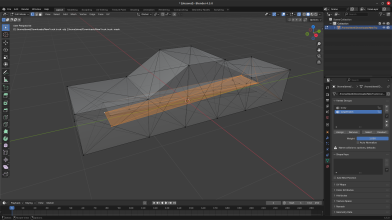
If you exactly followed these instructions, the radius should be 0.26 as it's a pretty good size, not too big, not too small. Keep the rays (3rd value) the same, as it's already smooth enough with 12 sides, and raising it will probably only give a performance loss. The 2 node ID's, you'll definitely need Blender for. Go back into Blender, and select these nodes by shift clicking them:
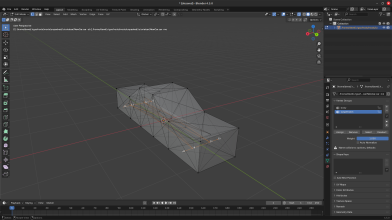
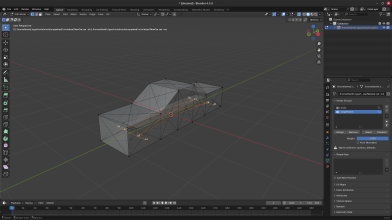
The order doesn't matter on the individual line level. For me this is what my wheel section looks like:

You should be able match my node numbers in the file to where they are graphically in Blender. If you selected those same nodes, you should be able to replace my node values with what you see in Blender.
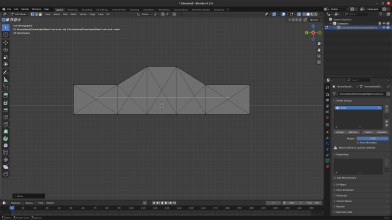
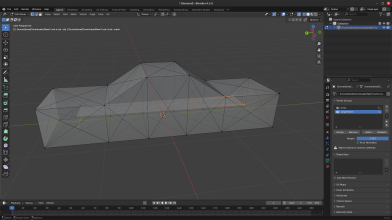
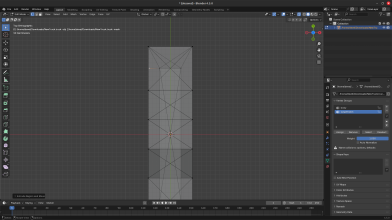
The next value is only for the rear wheels, I'll tell you right away that you should put 9999 for the front wheels. In Blender, select these nodes:
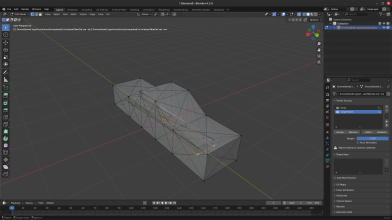
Again, you should be able to deduce that the rigidity node for the left is 29, and the rigidity node for the right is 28. Replace these numbers with what you've selected in Blender.
The next value is simple. For the rear wheels, it should be 1 as they have a footbrake and handbrake, but for the front wheels, you should do 4 as they would have a footbrake, but no handbrake, or you could do 1 if you want
The next value is preference. If you want a FWD car, make this value 0 for the rear wheels and 1 for the front. If you want a RWD car, do the opposite. If you want AWD, set them all to 1. The next value you'll need Blender for again.
Select these nodes:
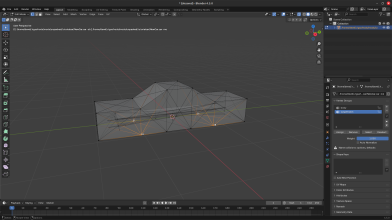
For my front right wheel, this value is 8, the front left is 10, rear right is 16, rear left is 18. Replace these values with the node numbers you selected.
You don't need to mess with the next few values, but you can try some different ones after you're done
The shocks section is pretty simple, as you can use this template and only change a few values:
shocks
;critical damping=2*sqrt(mass*spring)
;id1, id2, spring, damping, shortbound, longbound, precomp, options
26, 29, 200000, 10000, 0, 0.3, 1.0
27, 28, 200000, 10000, 0, 0.3, 1.0
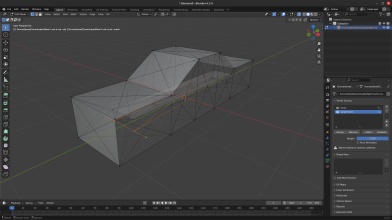
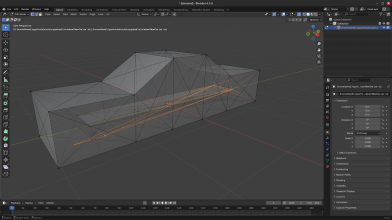
There's only 2 shocks as the rear suspension needs 2 and the front needs none. In Blender, select these nodes:
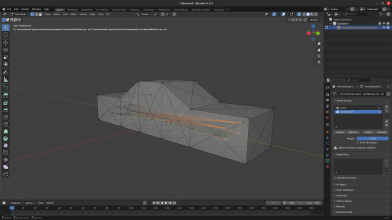
You can see that I had the top node as the first value and bottom node as the second value, but you can reverse them. Replace my node numbers with yours. You can reduce the spring if it's too stiff for your liking.
The next section, hydros, is what gives you steering. Here's a starting template:
hydros
;node1, node2, factor, options
35, 37, -0.2
35, 36, 0.2
34, 39, 0.2
34, 38, -0.2
Select these nodes in Blender:
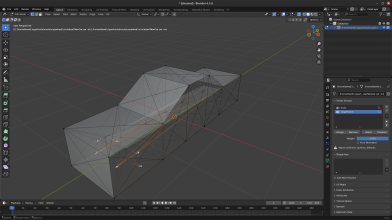
You can see that the outer nodes have 2 hydros connected to them. Replace the outer node values with ones that you have in Blender. The second values are very important. If you don't have them in the correct order, you could break something or not be able to steer, or both. Make sure that the node values you selected in Blender exactly subsitute the ones that I have.
And now you're done with the basic car! If you want to check out the other sections, read about them in the docs, as they aren't necessary for making this car. Perhaps I'll make another thread or few showcasing these features.
